With Envision for the Mac
The highest-quality shows are made with Open Door Networks' Envision for the Mac. Envision is a full-featured Web show authoring and display application for the Macintosh that allows you to choose images from a Web site or a section within a Web site, set specific show parameters (like time between images) and play back, review and modify shows.
To publish a show with Envision, just choose "Export for iPhone" from Envision's iPhone menu (Envision 1.2 or later). This uploads your show file to your MobileMe account. See the Envision User's Guide for details. You then import your show into iEnvision:
- Run iEnvision
- Tap Edit on the iEnvision Groups screen

- Tap "+" in the upper left corner

-
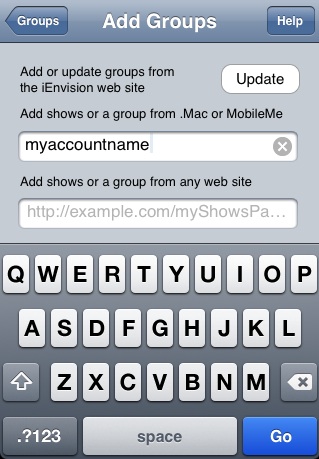
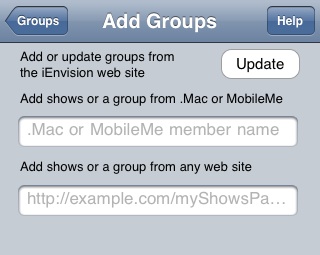
Enter your .Mac (MobileMe) account name into the text box labeled "Add shows or a group from .Mac or MobileMe", and tap the Go button
-
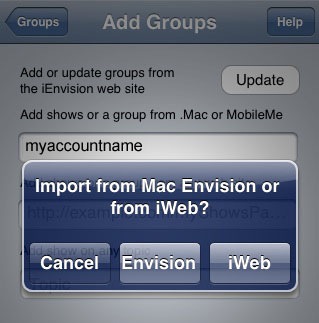
If prompted, tap the "Envision" button.
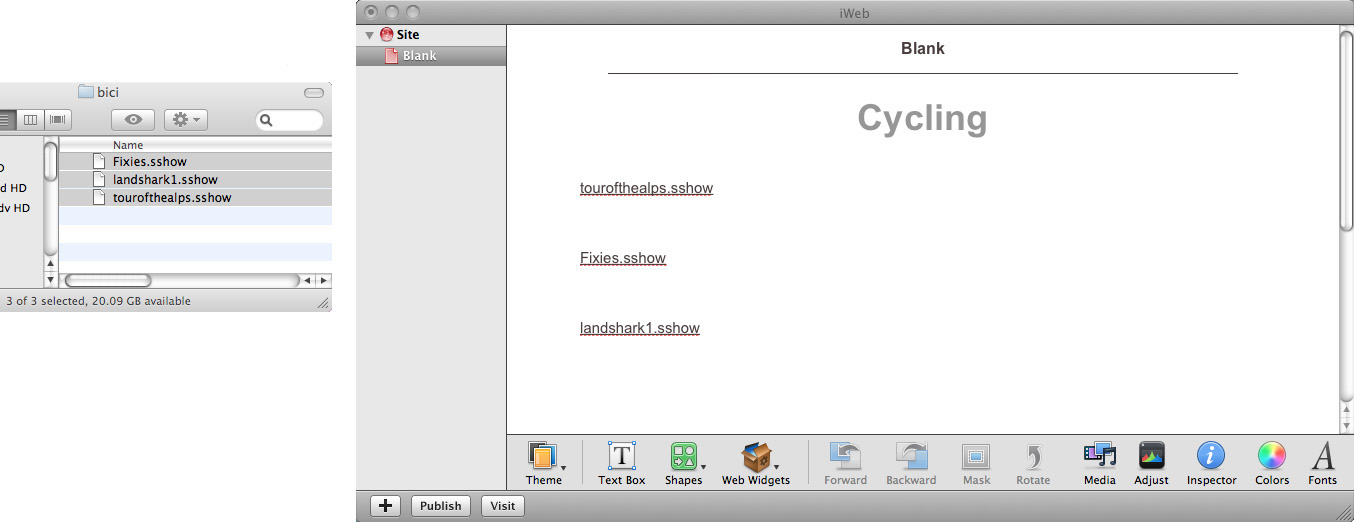
- Launch iWeb, and choose the page template named "Blank". If there is more than one page in your iWeb site, make sure that this new page is at the top of the list.
- Set the page title -- this will be the name of the group as it appears in iEnvision's group list. This is "Cycling" in the figure below.
- Drag your show file(s) onto the iWeb page. There are three shows in the figure below.
-
Click iWeb's Publish button (or use iWeb's "File > Publish to MobileMe" menu item).
- Run iEnvision
-
Tap Edit on the iEnvision Groups screen
-
Tap "+" in the upper left corner
-
Enter your .Mac (MobileMe) account name into the text box labeled "Add shows or a group from .Mac or MobileMe", and tap the Go button
-
If prompted, tap the "iWeb" button.
With iEnvision
Although the best-quality shows are created with Envision for the Mac, you have the option of using iEnvision to auto-create shows for you. Auto-created shows can't be tuned like shows created with Envision for the Mac, due to auto-creation's lack of editing features, but often turn out fine.
- Use a Web browser to find a site with images of interest to you
- Run iEnvision
-
Tap Edit on the iEnvision groups screen
-
Tap "+"
-
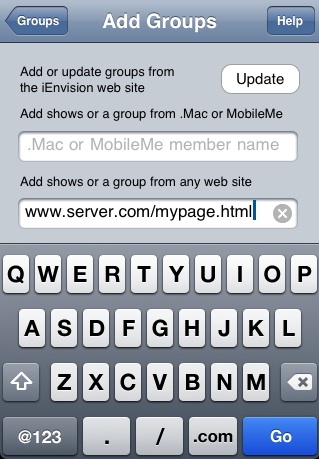
In the text box labeled "Add shows or a group from any web site" enter the URL to the Web page, and tap the Go button.

- Use a Web browser to locate pages of interest to you.
- Create a Web page, using a Web authoring application or text editor, and insert links to those pages.
- Upload your page to a Web server.
- Run iEnvision.
-
Tap Edit on the iEnvision groups screen.
-
Tap "+"
-
In the text box labeled "Add shows or a group from any web site" enter the URL to your Web page, and tap the Go button.
- Using Safari, find one or more Web pages with images of interest to you.
- Run iWeb and drag the URL(s) of interest from Safari to an iWeb page. If there is more than one page in your iWeb site, make sure that this page is at the top of the list.
- Click iWeb's Publish button (or use iWeb's "File > Publish to MobileMe" menu item).
- Run iEnvision
-
Tap Edit on the iEnvision groups screen
-
Tap "+"
-
In the text box labeled "Add shows or a group from .Mac or MobileMe" enter your .Mac (MobileMe) account name, and tap the Go button
- If prompted, tap the "iWeb" button.
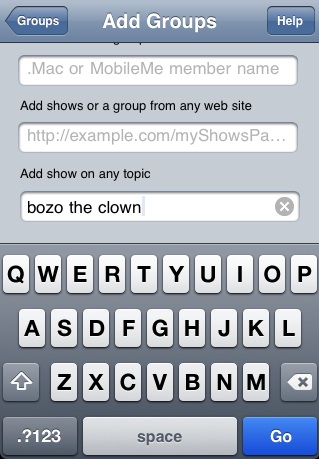
- Follow steps 1 through 3 above to get to the Add Groups window.
- In the text box labeled "Add show on any topic" enter the topic of interest, and tap the Go button.
Built-in content is constantly being updated by the iEnvision staff. New groups are added, shows are added to existing groups, and existing shows are fine tuned. To produce the highest-quality Web shows possible, the iEnvision staff uses Open Door Networks' Envision for the Mac, a full-featured Web show authoring application.
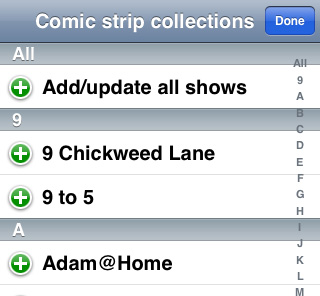
To update all shows in a group, or add a new group:
- Tap Edit on the iEnvision groups screen
- Tap "+"
- Tap Update
- To update all shows in a group, or add a new group, tap the green "+" next to the group name
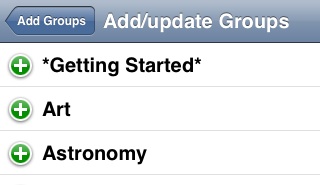
- Tap the group name in the iEnvision groups screen

- Tap Edit button in the upper right

- Tap "+" in the upper left
- For each show you want to update, tap the green "+" next to the show name
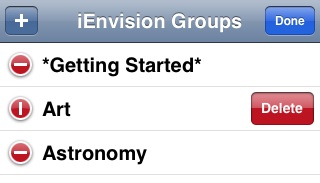
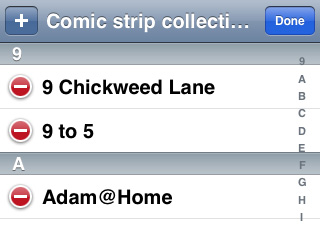
You may find that you want to simplify your iEnvision experience a bit by deleting unwanted shows and groups. To delete a show from a group:


To delete all shows from a group:
To delete an entire group: